How to connect an infrared heater via a thermostat
The issue of saving electricity is relevant to many. Using infrared heaters, this issue can be partially resolved, because the flask in the device, made of sand, even after the equipment is switched off, they remain warm for a long time. However, not everyone knows, that equipped with a conventional infrared heater with a thermostat, you can save even more. Since connecting an infrared heater through the controller is not difficult, you can do it with your own hands, without the help of a specialist.
What is a thermostat
The purpose of the thermostat is to regulate the current consumption by turning on / off the heater as the room heats up to a certain temperature. Domestic manufacturers offer a choice of two types of devices:
- have a manual mechanism;
- electronic.
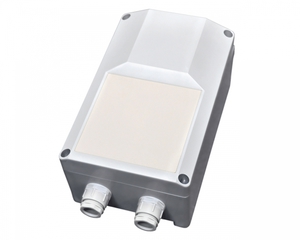
A mechanical thermostat is a device, resembling a small box, on the front panel of which are displayed:
- Regulator, by means of which it is possible and necessary to establish necessary temperature.
- On / off button.
- LED indicator, most often it glows green at the time of operation of the device.
Mechanical devices are a fairly simple design, which is managed manually. Some models are equipped with a display, on which the information on the set temperature and that is deduced, that is now in the room. They are worth it, Of course, a little more expensive.
Electronic thermostats have a rather complex design. They are equipped with remote control, liquid crystal display and fine tuning mechanism. Such devices are more efficient, but they are an order of magnitude higher.
Installing the thermostat
Before proceeding to the basic procedure for installing an infrared quartz heater and thermostat, it is necessary to consider some features of work of the last:
- Installation of the device should be carried out on a wall.
- Installation at a height from the floor not less 1,5 meters.
- It is not recommended to close the thermostat with curtains, carpets, furniture, it must be freely accessible.
- One temperature controller is provided per room.
Wiring diagram
Let's start with, that the infrared heater is connected to the mains either via an outlet (most often), or directly through the machine, that in the switchboard.
The thermostat must be built in between the heater and the machine.
We will consider two connection schemes.
Standard
Before you begin the process, you need to deal with the power of the controller. So, a conventional temperature controller can serve several IR heaters at once. Essentially, the number of connected heaters depends on their capacity.
One thermostat has power 3 kw. It is quite enough to service 3 heaters, which are most often used in apartments, and in private homes.
Most controllers are equipped with 4 terminals: two at the entrance (phase, zero) and two at the exit.
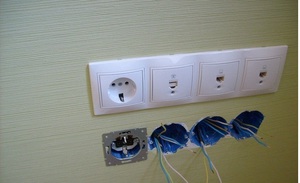
The standard wiring diagram for an infrared heater via a thermostat is simple. To create it, you need to stretch two wires from the shield to the controller, connecting zero and phase. Next, two more cables are routed from the thermostat through the output terminals directly to the heater itself. So, we receive alternate connection of all devices from the network.
In that case, if you need to connect two or three infrared heaters at once, then the first part of the procedure remains unchanged. The thermostat is connected in the same way. But if you plan to install two heaters, four wires should already be run from its output terminals, and six wires, if there are three heaters. For two cables for each heater. We got a parallel connection.
Read also: how to choose the right infrared heaters with the function of a thermostat for giving.
You can use a serial circuit if you wish. Then, first from the wire thermostat will go to the first heater, and from him to the second and so on.
There is another version of the scheme with a simple connection of an infrared heater. It is as follows: the phase wires from the machine are connected to the heating element, and the zero wire - to the thermostat. But this method should be resorted to as a last resort, when it is not possible to connect the thermostat in any other way, because it is unreliable.
With a magnetic starter
It is better to use this scheme then, when you need to connect several infrared heaters, or one industrial model.
This method involves the installation of an additional device - a magnetic starter. It is a switching device of the kind of electromagnetic contactors. With its help it is possible to switch powerful loadings, caused by alternating or direct current.
The purpose of the magnetic starter is to frequently turn on and off power circuits.
Wiring diagrams, where this switching device is involved a lot, but we will consider only one. The first part of the process remains unchanged, the machine and the thermostat are connected in the same way, discussed above. However, from the output terminals of the thermostat, the two cables do not lead to the IR heaters, and to the magnetic starter, from which they go to the heater.
Read also: types and kinds of infrared heaters.
Conclusion
As we see, the process of connecting infrared heaters is not so complicated, as well as its installation. However, if during physics lessons you considered crows and are far from such concepts, as a three-core copper cable, indicator screwdriver, phase and zero, then you should not neglect the help of specialists. Security is at stake: like yours, and your family members.