How to connect the projector to a laptop or computer and it
Connecting the projector to a laptop is done by simple manipulations, but, Unfortunately, there are often difficulties along the way. When devices refuse to understand automatically, this means, that the default system settings are down, or these devices simply "do not understand" each other. How to connect the projector to a laptop in this case? The connection is set up manually: to do this, the operating system provides certain sets of keys. In the absence of such, setting parameters is done by forcing configuration changes.
Wired connection
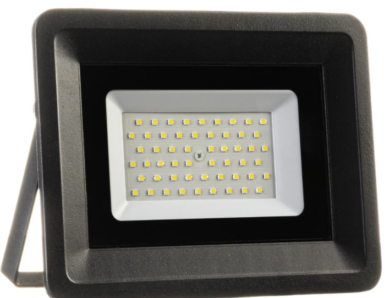
Multimedia projector, regardless of the model, connects to a computer or laptop via VGA or HDMI cable. HDMI will be better for high quality content.
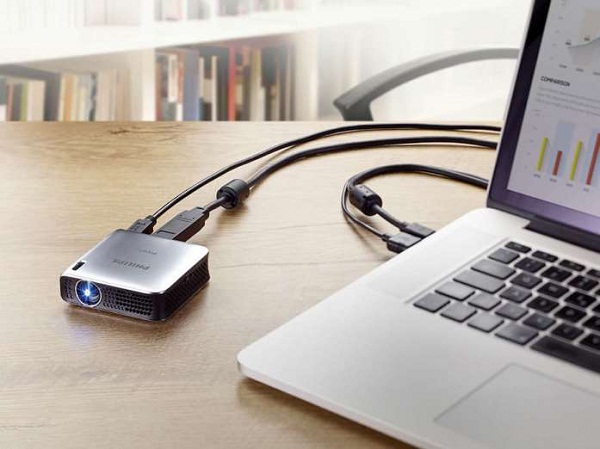
The connection algorithm is simple:
- before, how to turn on the projector, disconnect both devices from the network;
- insert the plug into the appropriate connector;
- turn on the projector, then the computer.
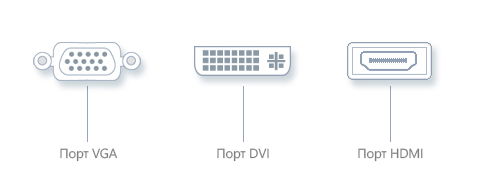
In those cases, when the required connector is missing, you can use a special adapter. This can happen, when the video card has only a DVI connector, and a VGA or HDMI projector. Using an adapter slightly reduces the quality of the content. The projector turns on first, otherwise the computer will not see it.
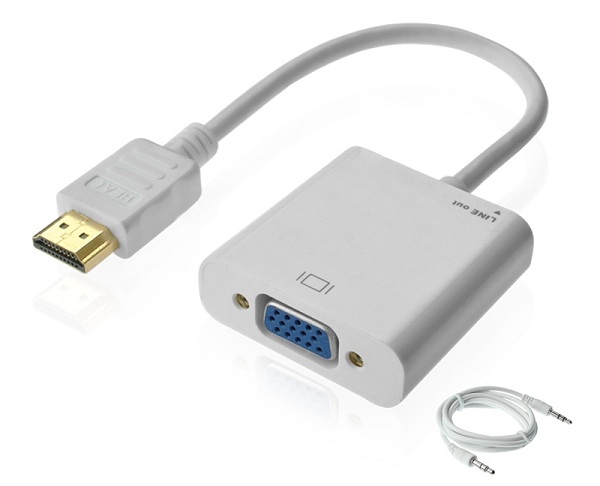
Special adapter
Wireless connection
You can also sync devices via Wi-Fi, today this method is gaining popularity. You need to install the driver to activate, but in the case of Windows 7, usually, quite full-time.
In case of disk loss, The application can be downloaded online from the projector's brand website.
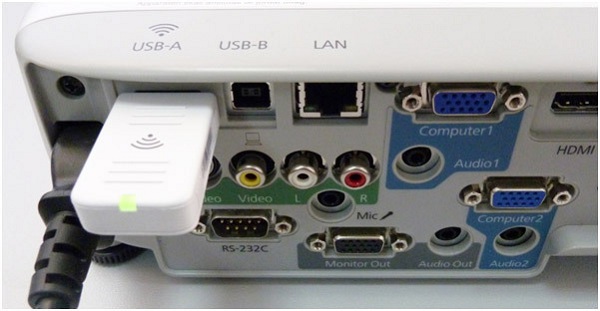
Before, how to connect a projector to a laptop, you need to install the Wi-Fi antennas of the projector and PC's USB connectors, they look like a small flash drive. The green indicator light informs, that the connection was successful.
It is worth noting, that not all projectors, who support Wi-Be, will project video. Some models can only be connected to control equipment, this nuance needs to be specified at purchase. Wired connection is more reliable and practical: HDMI plug, example, designed to transmit video of excellent quality without interference.
Display the content in the desired mode
Theoretically, after connecting the cable to the appropriate connector, the picture should be displayed automatically. In some cases, when the settings are incorrect, the user must make the necessary changes to display the content. It is known, that each version of the operating system has its own characteristics, therefore, there is no single procedure.
- Hot keys. To design a menu from a laptop to an external projector screen, it is necessary to combine one press of the Fn key and one of the F1-F12 series (button with the image of a laptop and an external screen). This method does not work, if the function buttons are not active.
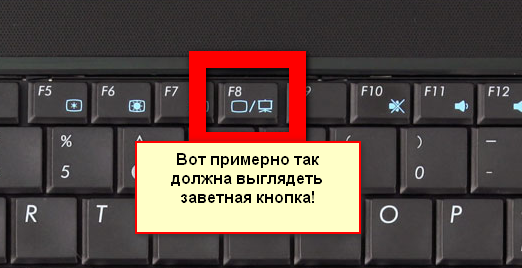
Button to switch between laptop screen and projector
- Windows XP. Setting up a projector on a popular version of XP is just as easy, how to manage this outdated system. To adjust the settings, enter the desktop menu with the right mouse button (click on any free space). Open the item "Properties", then in the "Screen" menu select "Settings". Next, select the computer display (laptop) or attaching a second external screen, by checking "Expand desktop to this screen" (Extend my Windows desktop this monitor). By the way, you can compare here, whether the permission is set correctly.
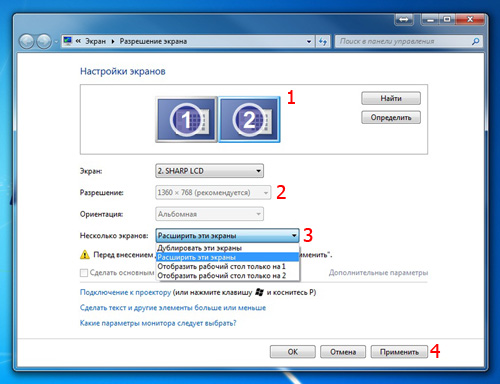
- Windows 7 / Vista. In this system, you need to go to the "Screen Resolution" section, to do this, right-click on the desktop. Here from the list of "Multiple screens" select "Expand these screens". The second way is through the search bar, where you need to enter "Connecting to a projector", then a link to the staff application will appear. The user will be presented with several modes of content output.
- Windows 8. For the eighth version of Windows there is a simple method of image design: we go to "Start", open the tab "Control Panel" and select in the "Design and Personalization" items "Screen", and then "Screen Resolution". Next will be a choice of PC monitor or external screen.
Then, the user has access to four image display modes of the connected projector.
- Duplication (repetition) - When video from a computer or laptop is duplicated on an external screen.
- Only computer - content is played on the laptop display, and the external screen is not activated at this time.
- Extension - the desktop is divided into two parts, the left side is displayed on the PC monitor, and right through the projector.
- Projector only - information will be projected only on the big screen.
Useful chips for Power Point
The Power Point office program is "honed" for presentations, it is often used, because it is simple and convenient. Here are the features of the work, example, you can display slides on the big screen, and on the PC display - the text of the report or lecture.
Settings do not take much time: after synchronizing the projector with a PC, go to the program and look for "Slide Show" on the top panel - "Show presentation". Check the box "Projection equipment". Here you can find "Speaker mode", if you activate it, various auxiliary tools for lectures will be displayed on the screen - additional buttons or notes.