How to remove the bumper on Kalina: video instructions
Does not matter, experienced driver Lada Kalina, as well as that, in what year his car was released. Sooner or later he needs to replace or remove the bumper at the front or rear of the car.
Among the reasons for the need for replacement are:
- the car owner's desire to tune the car, replacing the old part with a new one;
- damage to the structural element due to an accident or other mechanical deformation;
- the need to install or dismantle fog lights or other headlights due to fogging or cracks on their surface;
- the need to dismantle the engine elements or other structural parts.
Lada Kalina rear bumper
It is possible to remove an element of a car as for carrying out repair work on its surface, and for its complete replacement. Even a novice in this business will be able to cope with the work. This will save you money:
- time, necessary for transporting the car to the service center;
- money, which had to be paid for the work of the master.
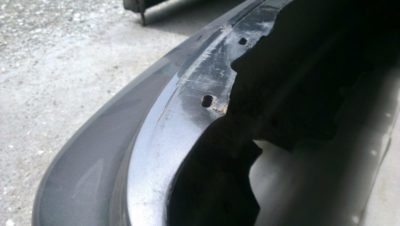
Bumper "Lady Kalina", as well as the majority of similar designs on domestic and foreign cars, is made of plastic and fastens to a body surface by special self-tapping screws. The greatest difficulty in its dismantling and replacement is, that some screws in the structure are masked.
Omission of at least one screw will cause a break or crack in the cover. Strict rules should be followed when working, otherwise you risk damaging the fragile plastic structure permanently, and it will not be restored. The dismantling process itself takes no more 30 minutes, and when working with an assistant, the withdrawal period is reduced.
How to dismantle the bumper in front
List of tools, which will be needed for the process, following:
- Phillips screwdriver;
- 2 key size 10 and 13 mm (key on 13 mm must be end type).
You need to turn away first 3 screw, on which the front facing part of a radiator of a car fastens. Then you can remove it, having previously removed two of its latches from coupling with arms. They are located near the right wheel at the bottom of the car.
How to pull out the spar yourself
Mounting points of the radiator grille and front bumper
Use a Phillips screwdriver to unscrew 3 screw, which are used to secure the fender bumper. The other three screws, behind, it is necessary to unscrew in the same way. Then a screwdriver 10 mm should be turned away 3 self-tapping screw, which are used for that, to secure the structure to the car body.
Attaching the front bumper to the fender
Attaching the front bumper to the fender
Then you need to take a Phillips screwdriver again and unscrew it 2 self-tapping screw, securing the grille to the bumper. After performing these manipulations, you can safely remove the front grille "Viburnum", without damaging it.
Lower front bumper grille
Next you need to arm yourself with a Phillips screwdriver, distract her 2 self-tapping screws, fix the structure to the beam. Two bolts on the edge can be unscrewed with a wrench "10", and the middle pair of bolts in the upper mount - with a Phillips screwdriver.
After the effort, you can remove the flange on the side of the bumper, which is attached to the bracket in the body. The same sequence is used to remove the flanges on the other side of the car. After that it is necessary to remove a forward bumper part of the car.
You will also need to remove the power take-up beam to complete the disassembly process, fastened to the body with four bolts. They can be unscrewed, using a screwdriver "13". After that, the beam is easily removed.
Places of fastening of a bumper to a car body
To install the removed structure, you need to perform exactly the same actions, however, in a different sequence. At installation it is necessary to consider, that the gaps between the element and the body parts must be uniform. After you fix the element on the surface of the body you need to press its side parts to the brackets. This will fix the flanges on the body brackets.
How to dismantle the rear bumper
To perform the operation of removing the body element, you will need:
- cross screwdriver;
- keys 10 mm (2 pieces).


